
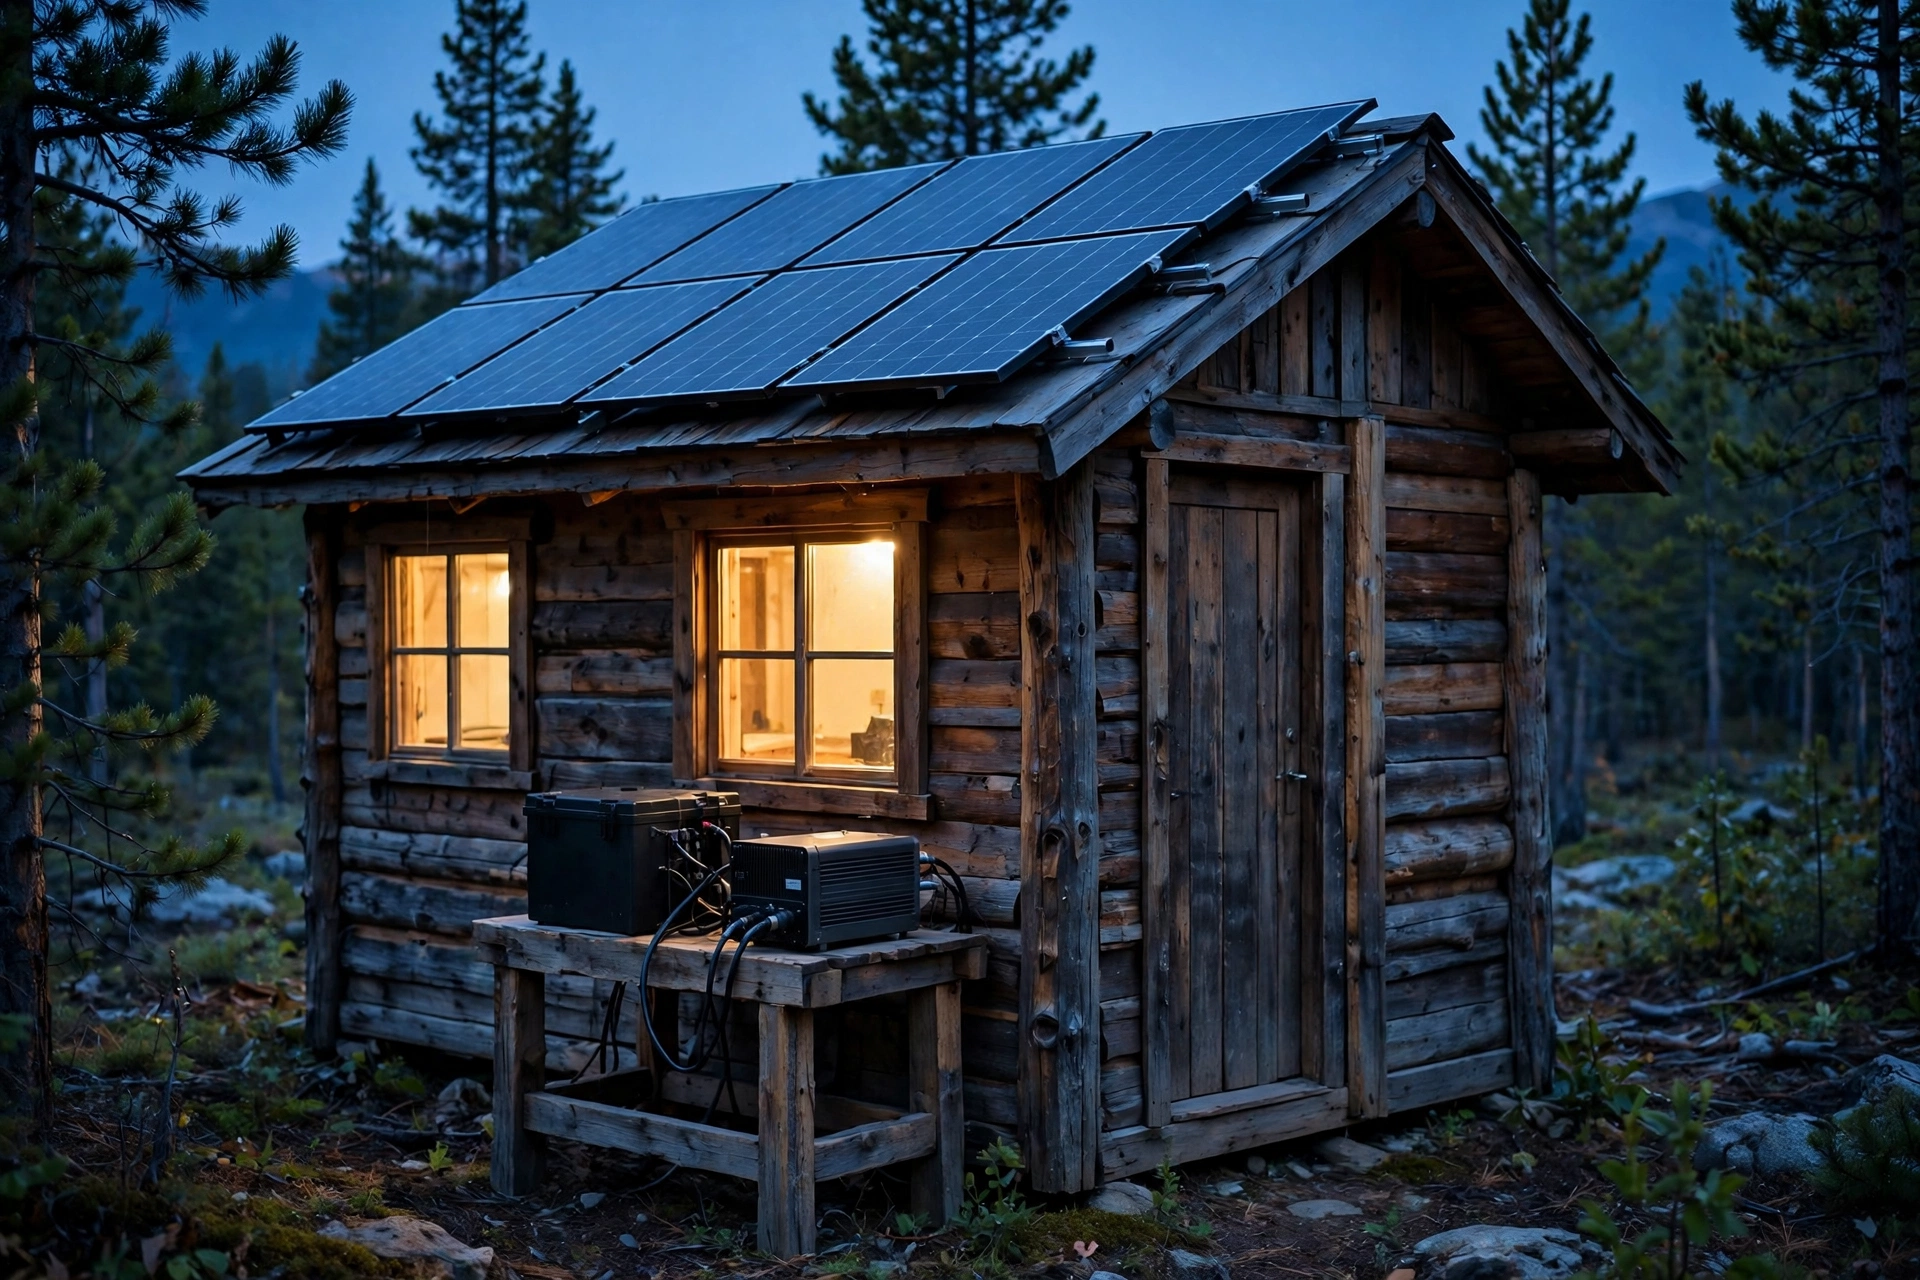
The short answer: an off-grid solar power system is four parts sized from a single number — your daily watt-hours. Panels harvest energy, a battery stores it, a charge controller manages the flow between them, and an inverter turns stored DC power into the AC power your appliances use. Get the daily energy number right first, and every other component sizes itself from it with simple arithmetic. Get it wrong, and no amount of extra panels or battery will fix a system that was built for the wrong load.
Disclosure: we may earn a commission if you buy through links on this site, at no extra cost to you — see our disclosure for how the site is funded. This guide is desk research, not hands-on testing: every figure below comes from published manufacturer specs and independent sizing guides as of October 2026, and there are no affiliate links on this page.
Start with the load audit, not the panels
Every off-grid sizing mistake starts the same way: buying panels first and asking what they can run second. The correct order is the reverse. A solar system is an energy budget, and the budget starts with what you spend.
List every device you want to run, its watts, and how many hours per day it runs. Watts × hours = watt-hours (Wh) per day. The wattage is usually printed on the device label or its power brick; for anything with a motor or compressor, use its average draw, not its startup surge.
| Device | Watts | Hours/day | Wh/day |
|---|---|---|---|
| LED lights (4 × 10W) | 40 | 5 | 200 |
| Phone charging | 10 | 2 | 20 |
| Laptop | 60 | 4 | 240 |
| 12V compressor fridge | ≈50 average | 24 | ≈1,200 |
| Water pump | 60 | 0.5 | 30 |
| Wi-Fi router / Starlink | 30–75 | 24 | 720–1,800 |
| Fan | 30 | 6 | 180 |
| Example cabin total | ≈2,600–3,700 |
Two things in that table surprise most first-time builders. First, the fridge dominates: a compressor fridge runs all day and is usually the single biggest load in a cabin or RV. Second, always-on devices add up fast — a router or satellite terminal drawing 30 to 75W around the clock uses 720 to 1,800 Wh per day, which can be half a small system’s budget on its own.
Once you have the total, add a margin of about 20 percent for loads you forgot and for the system growing over time. If your audit says 3,000 Wh per day, design for about 3,600 Wh. This is the number every sizing step below starts from.
How much sun do you actually get?
Panels are rated in watts under laboratory conditions, but what matters is how many watt-hours they produce at your location. That depends on peak sun hours — the number of hours per day when the sun is effectively at full strength. A location with 4 peak sun hours gives a 400W panel about 1,600 Wh per day in ideal conditions. Most temperate locations see roughly 3 to 5 peak sun hours, with winter often 1 to 2 hours less than summer.
Size for your worst month, not your yearly average. A cabin system that works in July and dies in December was sized for the wrong season. Free tools like PVWatts (from the US National Renewable Energy Laboratory) give monthly peak sun hours for any location — use the December or January figure as your design number.
Then allow for losses. Panels run hot, wires lose power, the controller and inverter each take a cut. A realistic overall derating is about 0.75 to 0.8, meaning you keep roughly 75 to 80 percent of the panels’ rated output as usable energy. Our guide to how solar panels work explains where those losses come from.
Sizing the panels
The formula is straightforward:
Panel watts needed = daily watt-hours ÷ peak sun hours ÷ 0.8
For the example cabin at 3,600 Wh per day (with margin) in a location with 4 peak sun hours:
3,600 ÷ 4 ÷ 0.8 = 1,125W of panels
That is roughly three 400W panels, or six 200W panels. Panel wattage is a menu choice, not a constraint — fewer large panels cost less per watt and need less mounting hardware, while smaller panels are easier to carry and fit on a small roof or ground rack. For a cabin or RV, 200W and 400W panels are the common sizes.
One more consideration: panels only produce while the sun shines, but you use power at night too. That gap is the battery’s job, and it is where most of the system cost sits.
Sizing the battery: usable capacity is what counts
A battery’s headline number — its rated capacity in watt-hours or amp-hours — is not what you can use. What matters is usable capacity: rated capacity × depth of discharge. Depth of discharge (DoD) is how far you can drain the battery without damaging it, and it depends on chemistry:
- LiFePO4 (lithium iron phosphate): about 80 to 90 percent usable, typically rated for 3,000 to 5,000 cycles. This is the standard choice for new off-grid builds.
- Lead-acid (flooded or AGM): about 50 percent usable. Draining further shortens life sharply, and the cycle life is far lower — a few hundred to about a thousand cycles.
The formula:
Battery watt-hours needed = daily watt-hours × days of autonomy ÷ usable depth of discharge
Days of autonomy is how many sunless days you want the battery to carry you through. One day is common for a weekend cabin where a cloudy weekend just means lighter use; two days is the usual choice for full-time living.
For the example cabin at 3,600 Wh per day with one day of autonomy on LiFePO4 at 80 percent usable depth of discharge:
3,600 × 1 ÷ 0.8 = 4,500 Wh of battery
That is about 375Ah at 12V, or about 190Ah at 24V. With two days of autonomy, double it to 9,000 Wh.
Battery voltage is a decision that ripples through the whole system. 12V is simplest and matches RV and camper gear. 24V halves the current for the same power, which means thinner wires and a smaller charge controller. 48V halves it again and is the standard for larger cabin and home systems. As a rough rule: under about 1,000W of panels, 12V is fine; 1,000 to 3,000W, consider 24V; above that, 48V. Our guide to the best LiFePO4 battery covers chemistries, form factors, and what to look for in a battery management system.
Sizing the charge controller: MPPT, and the 1.25 rule
The charge controller sits between the panels and the battery, converting raw panel output into safe charging. For any off-grid system above about 200W, the right choice is MPPT (maximum power point tracking): it holds the panels at their most productive voltage and converts the excess into extra charging current, harvesting roughly 10 to 30 percent more energy than a PWM controller from the same array. It also lets you wire panels in series and use higher-voltage panels, which PWM cannot do.
Sizing an MPPT controller means answering two questions, and our charge controller guide covers both in full. The short version:
- Amps: total panel watts ÷ battery voltage × 1.25, then round up to the next standard size. The 1.25 factor covers bright-sky moments when panels briefly exceed their rating. A 1,125W array on a 24V battery needs 1,125 ÷ 24 × 1.25 ≈ 59A, so a 60A controller.
- Volts: the controller’s maximum PV input voltage must sit comfortably above the panels’ open-circuit voltage in a series string, corrected for cold weather — panel voltage rises roughly 15 percent on a freezing morning.
Buy the controller with headroom for the panels you might add later. A 60A controller costs little more than a 40A one, and replacing a controller to add two panels is the most avoidable expense in off-grid solar.
Sizing the inverter: continuous watts plus surge
The inverter turns the battery’s DC power into AC power for ordinary appliances. Size it for two numbers at once:
- Continuous watts: the total watts of everything you might run at the same time. Add up the running watts of your simultaneous loads — fridge, lights, laptop, fan — and pick an inverter rated comfortably above that total.
- Surge watts: motors and compressors draw two to three times their running watts for a few seconds at startup. A fridge that runs at 150W can surge past 400W when the compressor kicks in. If the inverter cannot handle the surge, it shuts down or the appliance stalls.
A 2,000W pure sine-wave inverter with a 4,000W surge rating covers most cabin systems; a 3,000W unit covers a full-time setup with a microwave or power tools. Always buy pure sine-wave, not modified sine-wave: modern electronics, chargers, and variable-speed motors run badly — or not at all — on modified sine-wave power, and some are damaged by it.
Inverter efficiency is typically about 90 to 95 percent, which is already inside the 0.8 derating used in the panel formula above, so there is no separate correction to make. Watch idle draw: a large inverter with no load can burn 20 to 50W around the clock. If you only need AC power a few hours a day, switch the inverter off when not using it, or choose a model with a low-power standby mode.
Wiring, fuses, and safety
This is the part most first-time builders under-budget, and it is the part that matters most for safety. The rule that governs all of it is simple: current, not watts, decides wire size. Power equals volts times amps, so the same 1,000W is about 83A at 12V but only about 21A at 48V. Low-voltage DC runs carry serious current, and thin wire on a high-current run gets hot.
- Wire gauge: size every run by its current and length, using a DC wire-size chart. Short runs between battery and inverter carry the highest current in the system and need the thickest cable — often 2/0 AWG or thicker above 2,000W. Keep battery-to-inverter cables as short as possible.
- Fuses and breakers: fuse every positive wire close to its power source — one on the panel run before the controller, one on the battery positive terminal, and one on the inverter input. A fuse protects the wire, so size it to the wire’s rating, not the load. A short circuit in an unfused battery cable can start a fire in seconds.
- Disconnects: put a disconnect switch between the panels and the controller and between the battery and the inverter, so any part of the system can be isolated for maintenance without live wires.
- Grounding and mounting: ground the panel frames and the metal rack, keep batteries in a ventilated spot out of direct sun, and mount the controller and inverter where air can move around them — they shed heat and will derate themselves on hot days if they cannot.
- Follow your local electrical code for anything involving AC wiring, grounding, and any fixed installation. Codes exist because the failure modes are real, and a system that is safe on paper still has to be safe in the form it is actually built.
Three worked examples
These three builds cover most DIY off-grid situations. The costs are component prices for a self-built system, based on published sizing guides as of October 2026, and they vary by brand and region.
| System | Daily use | Panels | Battery (LiFePO4) | Controller | Inverter | DIY cost |
|---|---|---|---|---|---|---|
| Weekend camper | ≈600–800 Wh | 200W | 100Ah 12V (≈1.2 kWh) | 20A MPPT | 1,000W | ≈$500–$900 |
| Part-time RV / cabin | ≈1,500–2,000 Wh | 400–600W | 200–300Ah 12V (≈2.4–3.6 kWh) | 30–40A MPPT | 2,000W | ≈$2,000–$4,000 |
| Full-time cabin | ≈3,000–5,000 Wh | 800–1,200W | 400–600Ah 12V (≈5–7 kWh) | 60–85A MPPT | 3,000W | ≈$5,000–$10,000 |
Notice the pattern: the battery is about half the cost of every build. That is the normal shape of an off-grid budget — storage costs more than generation — and it is why getting the load audit right matters more than chasing the cheapest panel. A battery bought for a load you do not have is money sitting in a box; a battery bought too small is a system that goes dark at 9 p.m.
The no-build alternative: a portable power station
Not everyone wants to size, wire, and fuse a component system. A portable power station — a battery, MPPT controller, and inverter built into one box, charged by folding or rigid portable panels — is the off-grid system with the building already done. You plug the panels in, plug your devices in, and it works.
The trade-off is cost per watt-hour and repairability: a power station typically costs more per kWh of storage than separate components, and when one part fails, the whole box goes for repair. But for weekend trips, emergency backup, or a first step into off-grid power, it is a sensible choice — and genuinely portable in a way a wired cabin system is not. Our guide to the best solar generator for home backup compares the main options. If you outgrow one, the panels you bought for it usually work with a component system later.
Common sizing mistakes
- Sizing for the average day instead of the worst month. December sun, not July sun, decides whether the system works year-round.
- Forgetting phantom and always-on loads. A router, a satellite terminal, or an inverter left on idle can eat a third of a small system’s daily budget.
- Using rated battery capacity instead of usable capacity. A 100Ah lead-acid battery gives you about 50Ah of usable energy. Size from the usable number or the system goes dark early.
- Undersizing the charge controller. A controller bought for today’s panels with no headroom has to be replaced the moment you add panels — buy the next size up.
- Ignoring surge watts. An inverter sized only for running watts trips the first time the fridge compressor starts while the microwave is on.
- Skipping fuses. Every positive wire near a battery needs a fuse. This is the cheapest safety in the whole system and the most commonly skipped.
- Buying panels before doing the load audit. The audit is a free afternoon of arithmetic. Skipping it is how a $3,000 system ends up powering a $300 load — or failing to power a $3,000 one.
Start from the load audit, size each part from that one number, and leave headroom at every step — the system largely designs itself.