
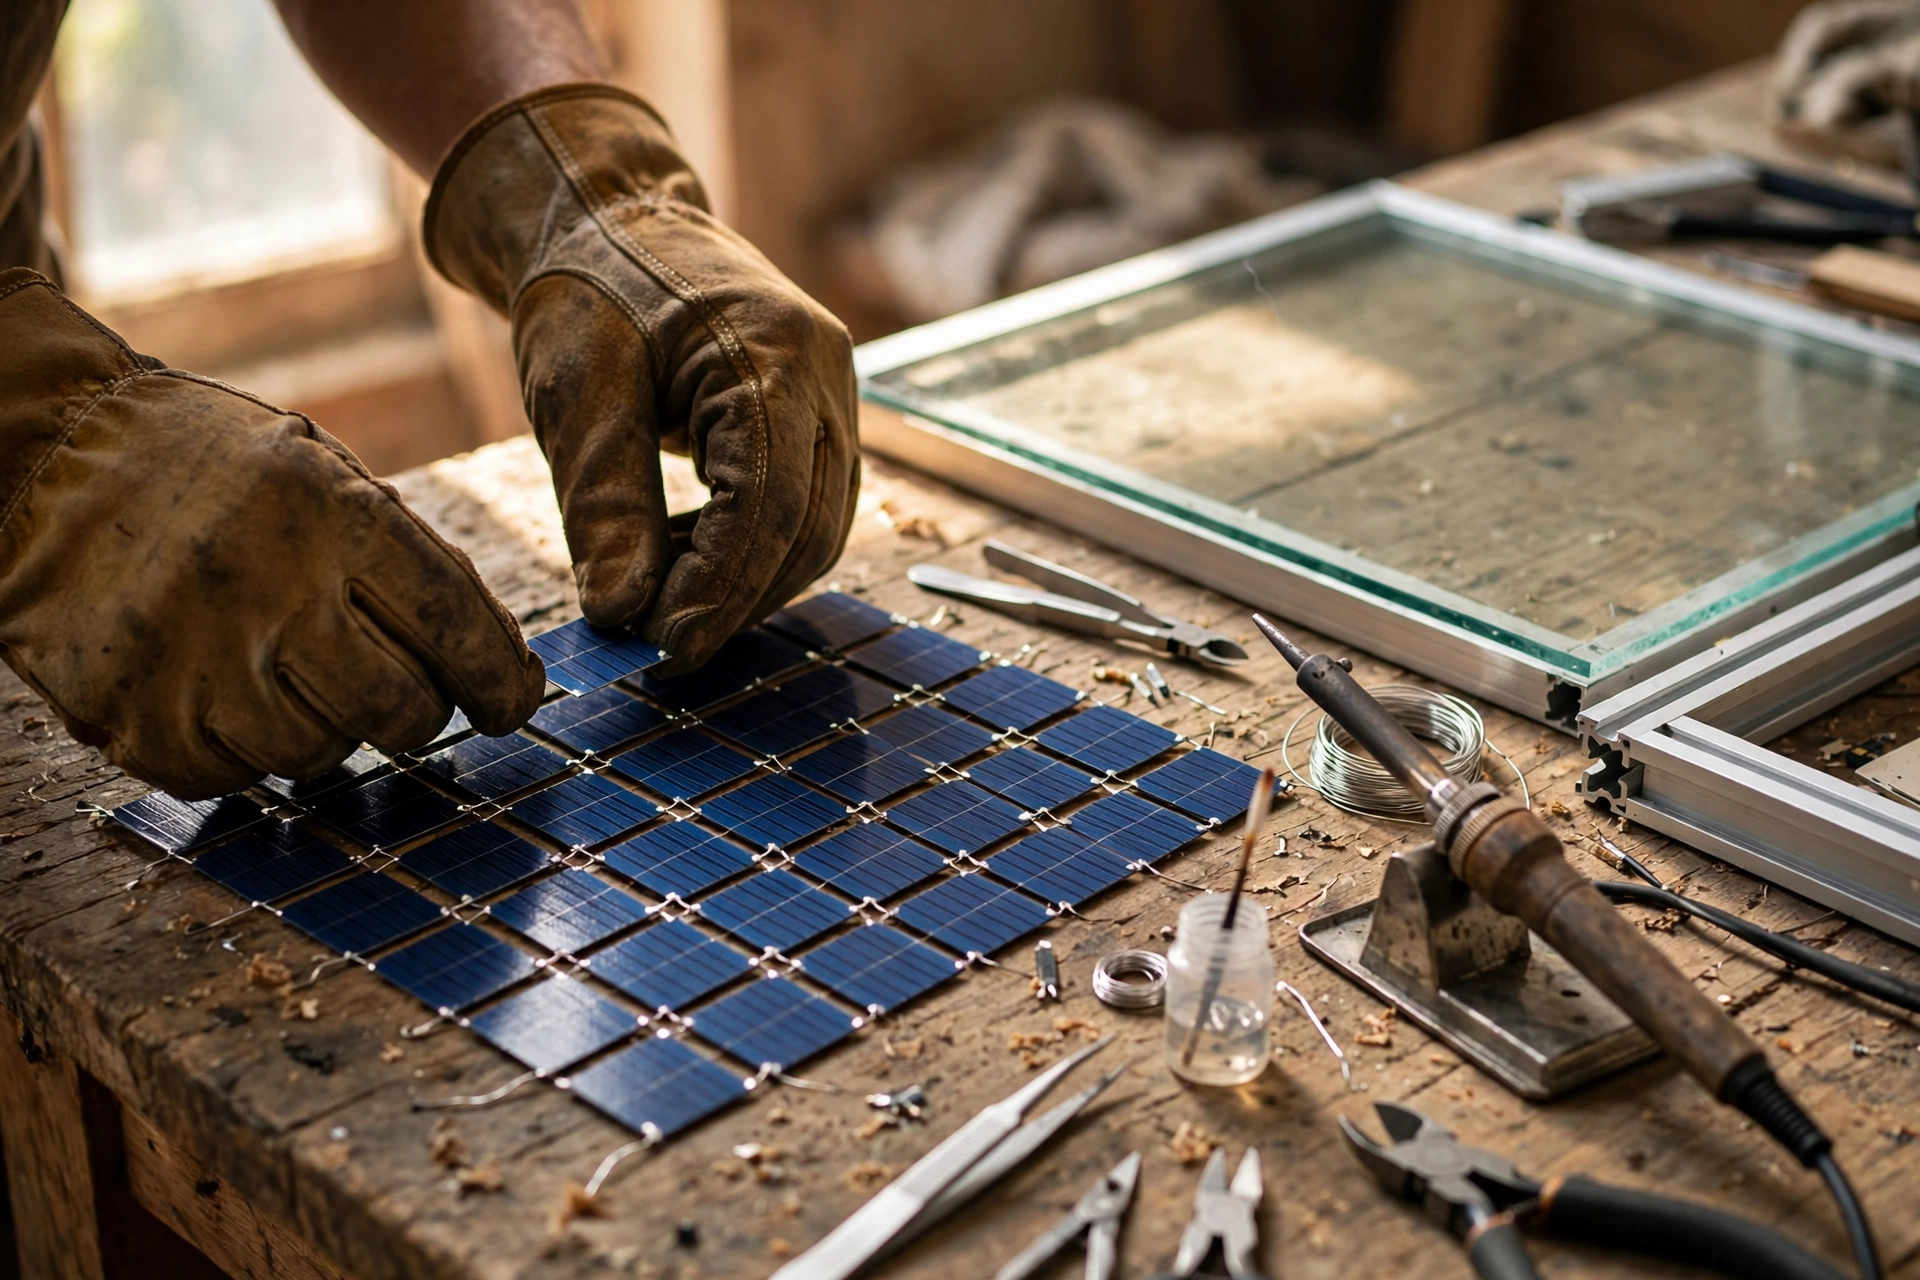
Building your own solar panel means buying individual photovoltaic cells and soldering them into a working panel yourself — and the honest answer is that it is a great learning project and a poor way to save money. A DIY 60 to 100W panel typically costs $100 to $200 in materials, roughly the same as a ready-made 100W panel with a 25-year warranty. What you get for the effort is a deep understanding of how a panel works, a panel with no warranty, and output that usually falls short of the label. If your goal is power for an RV, cabin or campsite, buy the panel. If your goal is to understand solar by building one, this guide walks through what the build actually involves.
Disclosure: we may earn a commission if you buy through links on this page. See our disclosure for how that works. We have no affiliate agreements in place yet, so the links below go directly to manufacturers and retailers.
How this guide was researched: we compared published DIY build guides, cell supplier listings and manufacturer specifications as of October 2026. We did not build a panel hands-on. Prices are the figures we found from sellers and manufacturers in October 2026 — treat them as a snapshot, not a quote.
What a solar panel actually is
A panel is not one thing. It is a sandwich of five layers, and each layer exists because the cells inside are fragile.
The working heart is the photovoltaic cells: thin wafers of silicon, about 0.2mm thick, that produce electricity when light hits them. A single cell makes about 0.5 volts and a few amps — useful power only comes from wiring dozens together. The cells are brittle as glass and will crack if you flex them, which is the first reason a panel needs the rest of the sandwich.
On the front, a sheet of tempered glass protects the cells from weather and impact while letting light through. Behind the cells sits a backsheet of weatherproof plastic that keeps moisture out. Between them, a layer of encapsulant — usually EVA film — glues the stack together and seals it. Around the outside, an aluminium frame gives the sandwich rigidity and something to bolt to.
That is the key insight for a DIY build: a factory does all of this in a vacuum laminator, heating the stack under pressure so the encapsulant flows into every gap and bonds into a single waterproof unit. A home builder cannot replicate that. You are substituting caulk, plexiglass and a wooden or aluminium frame for an industrial lamination process, and the gap between the two is exactly where DIY panels fail.
How the cells become a panel: the build in five steps
1. Plan the string: 36 cells in series
Each cell produces about 0.5V. Wire them in series and the voltages add up, so 36 cells gives about 18V open-circuit. That is the standard recipe for a 12V panel: 18V leaves enough headroom for a charge controller to charge a 12V battery at 13 to 14.5V, even on a hot day when cell voltage sags. Wire them in parallel and you add current instead of voltage, which a 12V system cannot use.
A typical 3 by 6 inch cell produces about 1.75W, so 36 of them make a panel of roughly 60W. That is the honest scale of this project: a single DIY panel is a 60 to 100W panel, not a 400W one. Bigger panels need bigger cells, more of them, and a much larger frame.
2. Tabbing: soldering the cells together
Each cell has thin metal busbars on its front face. You solder tabbing wire — flat copper ribbon — along the busbars of one cell to the back of the next, linking them in a series string. This is the fiddliest step in the whole build. The cells are fragile, the solder joints are small, and a cold or cracked joint becomes a dead spot in the string. Flux helps the solder flow; patience helps more. Buy extra cells, because beginners break a few — most cell kits sell 40 or 50 cells for a 36-cell panel precisely for this reason.
3. Laying out the string on a backing board
The wired string is laid on a rigid backing — plywood sealed with paint, or a sheet of pegboard — and the strings are connected with thicker bus wire into the full 36-cell array. A junction box is fitted at the back, and a blocking diode is wired in to stop the battery discharging back through the panel at night.
4. Encapsulation: sealing the cells from moisture
The array is covered with a sheet of tempered glass or plexiglass and the edges are sealed with silicone caulk. Some builders pour a clear encapsulant or use EVA film with a heat gun, but nothing a home builder can do matches factory lamination. This step decides the panel’s lifespan: every gap is a future water entry point, and water corrodes the solder joints.
5. Framing and testing
An aluminium or wooden frame holds the sandwich together and gives you mounting points. Before the panel goes outside, test it: measure open-circuit voltage in full sun (expect close to 18V for a 36-cell panel) and short-circuit current (a few amps for a 60W panel). If the numbers are far off, a cell is cracked or a joint is bad — and finding which one means unsealing the panel.
What it costs: DIY vs buying
| Item | DIY 60W panel | Ready-made 100W panel |
|---|---|---|
| Cells (36 to 50, some pre-tabbed) | About $50–120 | Included |
| Glass or plexiglass | About $20–40 | Included |
| Frame, backing, sealant, junction box, diodes | About $30–50 | Included |
| Tools if you do not own them (soldering iron, flux, multimeter) | About $30–60 | Not needed |
| Total | About $130–270 for 60W | About $140–170 for 100W |
| Cost per watt | About $2–4.50/W | About $1.40–1.70/W |
| Warranty | None | Typically 25 years |
| Weatherproofing | Caulk and hope | Vacuum-laminated, certified |
The table tells the story. DIY costs more per watt, produces less power, and carries no warranty. The material savings that DIY guides quoted a decade ago have been wiped out by falling factory panel prices. Building a panel made sense when a 100W panel cost $500. At today’s prices, it is a hobby, not a saving.
What can go wrong
- Cracked cells. Silicon wafers snap under the slightest flex. Handle them by the edges, never press the middle, and expect to lose a few on your first build.
- Cold solder joints. A joint that looks connected but is not will show up as low output or a dead string — and it is inside a sealed panel by the time you find it.
- Moisture ingress. Caulk shrinks, plexiglass yellows and cracks under UV, and water finds every gap. Corroded joints are the most common reason a DIY panel dies within a few years.
- Hot spots. If one cell in a series string is shaded or damaged, it becomes a load instead of a source and heats up — which is why bypass diodes matter, and why a factory panel’s matched cells outperform a hand-sorted set.
- No certification. A DIY panel has no UL or IEC rating. That matters if it is ever connected to anything insured, and it is one more reason to keep DIY panels on small, standalone 12V systems — a shed light, a battery maintainer, a campsite charger — rather than the core of an off-grid setup.
When buying is the smarter call
Buy a ready-made panel when you need reliable power. That covers almost every real use: charging an RV battery, running a cabin system, keeping a portable power station topped up at camp, or building a solar panel kit for off-grid use. Factory panels are cheaper per watt, sealed against weather, warrantied for 25 years, and matched cell-for-cell so the whole panel performs as rated.
Build one yourself when the point is the building. It is a genuinely good project for understanding how solar works — you will never look at a panel the same way after soldering 36 cells by hand — and it makes a fine science project, a shed light, or a conversation piece at camp. Just go in with honest expectations: you are paying roughly retail price for a panel that will produce less and last fewer years, in exchange for the knowledge of having made it.
If you do build, treat the panel as a prototype. Test it, learn from it, and put factory panels on the system that actually has to work. For more on what a flat-plate collector is and how it differs from a PV panel, see our guide to flat-plate solar collectors.