
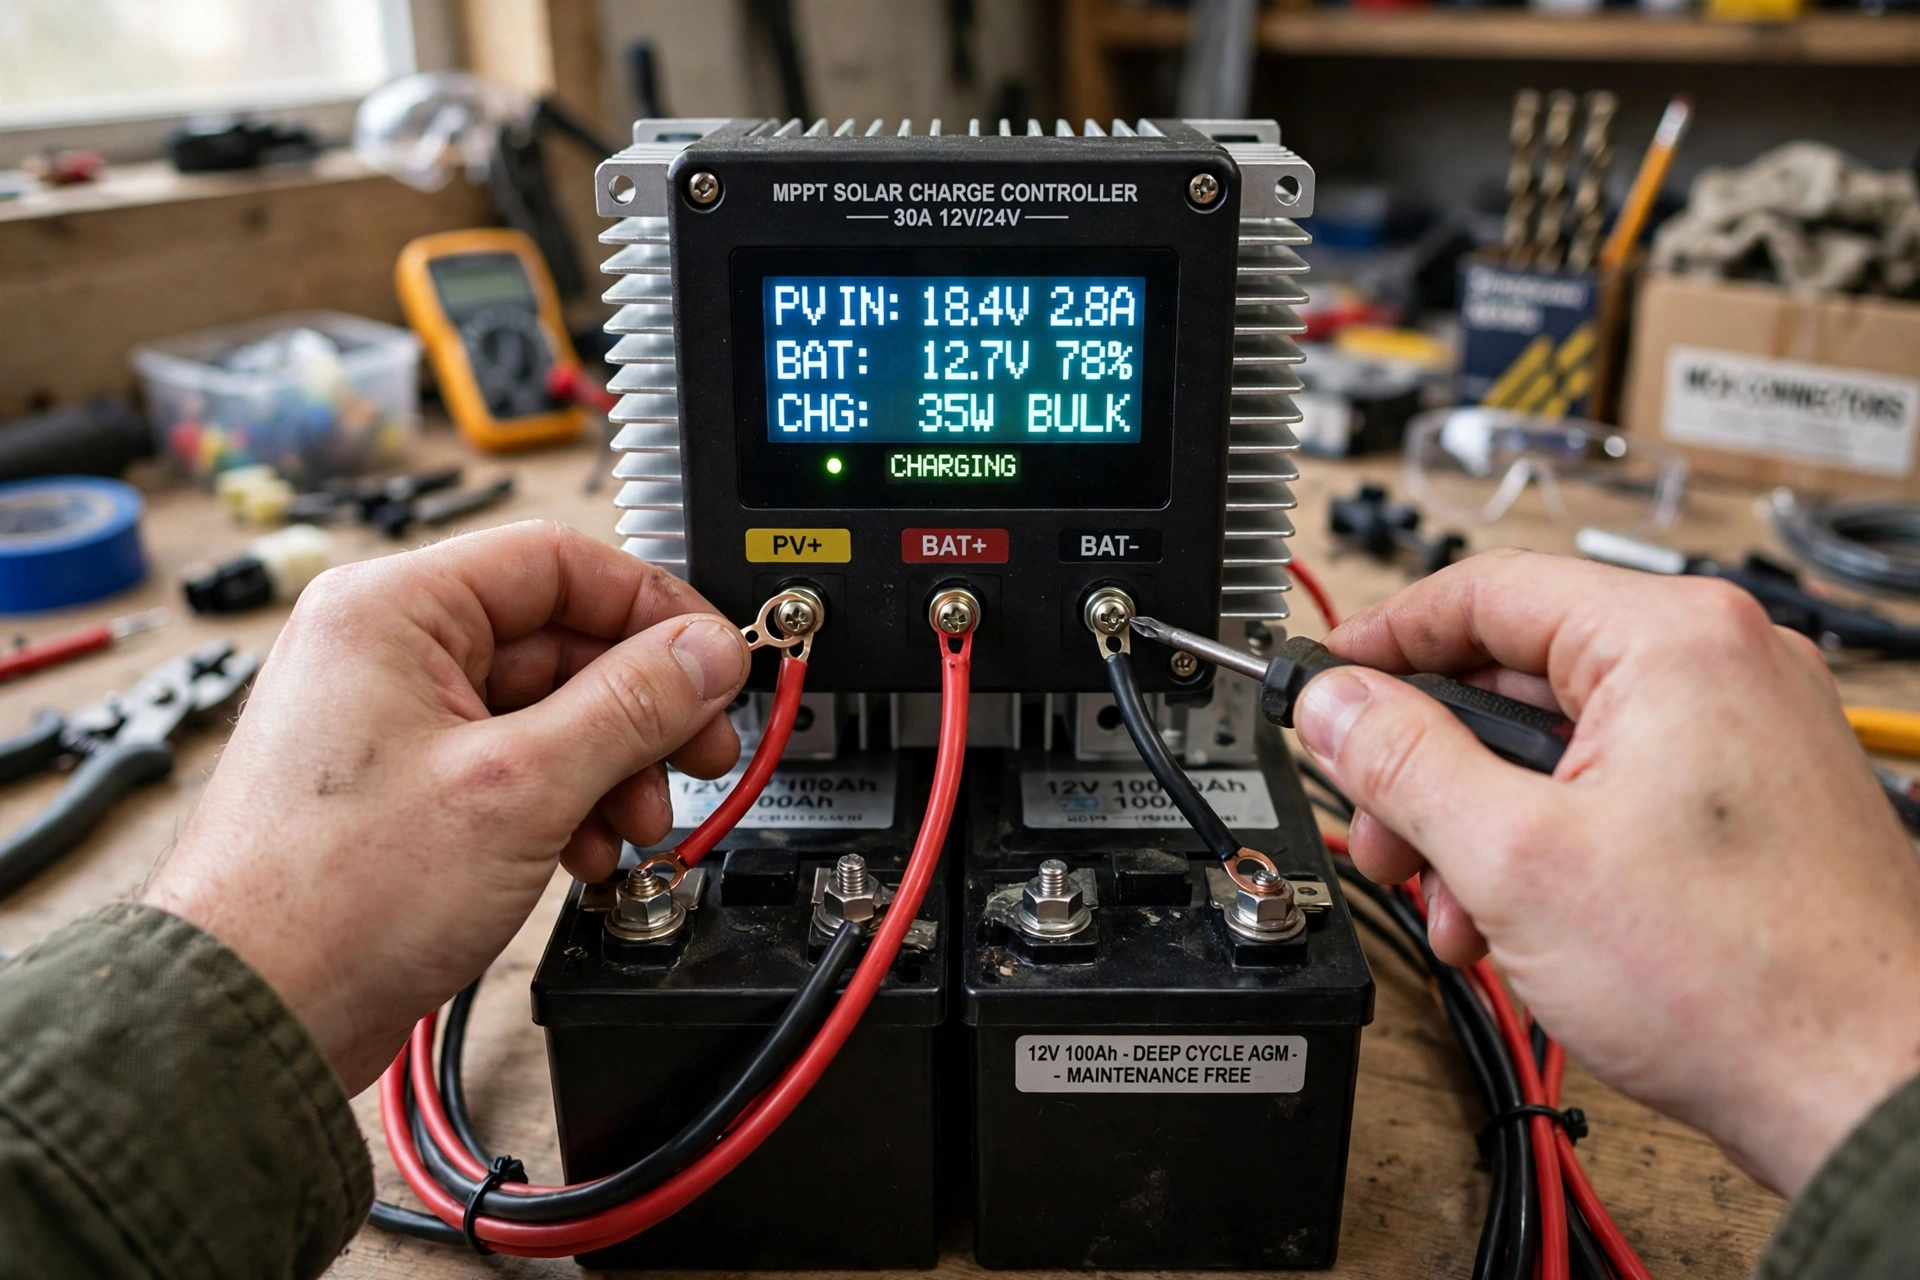
The short answer: the best solar charge controller for most DIY off-grid and RV builds is the Victron SmartSolar MPPT 100/30, at about $135. It takes 30A of charge current, accepts up to 100V from your panels, handles 440W on a 12V battery or 880W on a 24V battery, and gives you full setup and monitoring over Bluetooth with no dongle to buy. For a larger array, the Renogy Rover Li 40A is the value step-up at about $160. For a single small panel on a tight budget, the Renogy Wanderer Li 30A PWM at about $33 is the honest cheap option, with real limits you should understand before buying it.
Disclosure: we may earn a commission if you buy through links on this page, at no extra cost to you. See our disclosure for how that works. Prices below are as listed by the vendor or retailer in October 2026 and will move; check the listing before you buy.
How this guide was put together: this is research-desk work, not hands-on testing. Picks are based on published specs, manuals, owner reports, and measurements as of October 2026. No controller here was bench-tested by us.
What a charge controller actually does
A solar panel and a battery are a bad match when wired directly together, and the reason is voltage. A nominal “12V” solar panel actually produces about 18 to 22V at its maximum power point, and up to about 22 to 24V open-circuit. A 12V lead-acid battery is full at about 14.4V during charging and is damaged above about 15V. A 12V LiFePO4 battery is full at about 14.6V and its battery management system will cut off above that.
So a panel connected straight to a battery does two bad things at once. First, it drags the panel down to battery voltage, throwing away the power that lived in the gap between panel voltage and battery voltage. Second, once the battery is full, the panel keeps pushing current in, the voltage climbs past the safe limit, and the battery gasses, dries out, or takes permanent damage. In a lithium battery the protection board may save the cells by disconnecting, but repeated trips are not a charging strategy.
A charge controller sits between the panel and the battery and solves both problems. It takes the panel’s higher, variable voltage and converts it down to exactly the voltage the battery needs right now, following a charge profile: bulk charging at full current, then absorption at a held voltage, then float to maintain it. It also stops reverse current at night, when a panel would otherwise drain the battery back through itself, and it disconnects or limits loads before the battery is flattened. That is the whole job. Everything else, MPPT versus PWM, displays, Bluetooth, is about how efficiently and how observably it does that job.
MPPT vs PWM: the physics in one paragraph
Every solar panel has a sweet spot called the maximum power point: one specific combination of voltage and current where it produces the most watts. That point moves constantly, with sunlight, temperature, and shade. Cold panels produce a higher voltage; hot panels produce less. A shaded cell drags the whole string’s point sideways.
A PWM (pulse width modulation) controller is essentially a fast switch. It connects the panel to the battery and pulses the connection on and off to hold the battery at the right voltage. The catch is that the panel is forced to operate at battery voltage, about 13 to 14V, even though its maximum power point sits near 18V. The current stays the same, the voltage is pulled down, and the missing watts, voltage gap times current, are simply lost as heat. On a small 12V panel matched to a 12V battery, the gap is small and the loss is modest. On a 24V or grid-style panel, or two panels in series, the gap is large and PWM wastes a third or more of the array.
An MPPT (maximum power point tracking) controller is a DC-to-DC converter with a brain. It continuously measures the panel’s voltage and current, finds the maximum power point, and converts the excess voltage into extra current. A 100W panel producing 18V at 5.5A becomes about 14V at roughly 7A at the battery, minus conversion losses of about 2 percent. That is why MPPT typically harvests 15 to 30 percent more energy than PWM from the same panels, with the biggest gains in cold weather, when panel voltage is highest, and in low or variable light, when the power point moves fastest. The trade-off is price: MPPT controllers cost roughly three to five times what a basic PWM unit costs at the same amperage.
The practical rule: PWM is fine for one small 12V panel on a 12V battery, a shed light, a trickle setup. MPPT is the right call for anything 200W or larger, any panel whose voltage is well above battery voltage, any RV or off-grid cabin system you actually depend on, and any lithium battery, where charge precision matters more.
The shortlist
| Controller | Type | Max amps | Max PV volts | Battery voltage | Battery types | Display / app | Price (Oct 2026) |
|---|---|---|---|---|---|---|---|
| Victron SmartSolar MPPT 100/30 | MPPT | 30A | 100V | 12/24V | Lead-acid, LiFePO4 | App only (Bluetooth built in) | About $135 |
| Renogy Rover Li 40A | MPPT | 40A | 100V | 12/24V | Lead-acid, LiFePO4 | LCD + app via optional BT module | About $160 |
| EPEVER Tracer 4210AN | MPPT | 40A | 100V | 12/24V | Lead-acid, LiFePO4, user-defined | LCD on unit; app needs adapter | About $180 with MT50 meter |
| Victron SmartSolar MPPT 75/15 | MPPT | 15A | 75V | 12/24V | Lead-acid, LiFePO4 | App only (Bluetooth built in) | About $115 |
| Renogy Wanderer Li 30A | PWM | 30A | 25V | 12V only | Lead-acid, LiFePO4 | LED indicators; app via optional BT-1 | About $33 |
Prices are the vendor or retailer list prices found in October 2026. The EPEVER figure is for the bundle with the MT50 remote meter; the bare controller sells for less. The Renogy Rover 40A price varies by bundle: units including the Bluetooth module list higher.
The picks, one by one
Best overall: Victron SmartSolar MPPT 100/30
The 100/30 is the default recommendation for a reason, and the reason is not brand loyalty. Its numbers cover the most common DIY builds with room to spare: 30A of charge current, 100V of PV headroom, 440W of panels on a 12V battery and 880W on a 24V battery. Two 200W panels in series, the classic RV roof setup, fits comfortably. Bluetooth is built in, so setup, battery profiles, and live yield all run through the free VictronConnect app with no dongle. Peak conversion efficiency is rated at 98 percent, and the unit carries a 5-year warranty, the longest in this roundup. There is no screen on the box itself, which is the one real compromise: if you want at-a-glance numbers without opening your phone, add a separate display or pick a controller with one built in. It also has no load output, so it cannot switch a DC load directly. For most RV and cabin builds, neither matters. Buy this if your array is 200 to 440W on a 12V battery and you want the controller you will not outgrow next year.
Best value 40A: Renogy Rover Li 40A
The Rover Li 40A is the step up when 30A is not enough: 40A of charging, 520W of panels on 12V and 1,040W on 24V, with the same 100V PV ceiling. It has an LCD screen on the unit, which the Victron lacks, and a 20A load output for switching DC loads. Bluetooth costs extra: the BT-1 or BT-2 module is sold separately or bundled, so check the listing. At about $160 it undercuts the Victron 100/30’s bigger brother, the 100/50, by a wide margin while covering the same panel wattage on a 24V system. Its weak point is the ecosystem: configuration is more basic than VictronConnect, and owner reports note the app is less polished. Buy this if you are building toward 400 to 500W on a 12V battery, or you want a screen on the wall of your cabin and do not want to pay Victron prices for the privilege.
Best budget MPPT: EPEVER Tracer 4210AN
The Tracer 4210AN matches the Rover’s headline numbers, 40A, 100V max PV, 520W on 12V and 1,040W on 24V, at a lower bare-controller price, and it is the most configurable unit here, with a user-defined battery profile that lets you set exact voltages for unusual lithium chemistries. The LCD is on the unit, the build is a die-cast aluminium case that sheds heat well, and MPPT tracking efficiency is rated above 99.5 percent. The cost of the savings is convenience: there is no built-in Bluetooth, so phone monitoring needs a separate eBox adapter, and lithium setup requires that adapter or the MT50 remote meter to set parameters properly. Buy this if you are comfortable configuring a controller through its menus, you want the most amps per dollar, and you do not need an app on day one.
Best for small systems: Victron SmartSolar MPPT 75/15
The 75/15 is the 100/30’s little sibling and the right answer for a single-panel build: 15A, 75V max PV, 220W on 12V and 440W on 24V. A single 200W panel on a campervan or a shed is its natural home. It keeps everything that makes the 100/30 good, built-in Bluetooth, 98 percent peak efficiency, the BatteryLife algorithm that protects a lead-acid battery from slow death by partial charge, and the 5-year warranty, and it adds a programmable load output with low-voltage disconnect, which the 100/30 does not have. At about $115 it costs nearly as much as the 30A Victron, which is the honest argument against it: if there is any chance you add a second panel, the 100/30 is the better buy for about $20 more. Buy the 75/15 only when you are sure the array stays small.
Best budget PWM: Renogy Wanderer Li 30A
The Wanderer Li 30A is the cheapest controller worth buying, at about $33 direct from Renogy, and it is honest about what it is. It is a 30A PWM controller for 12V systems only, with a 400W panel limit and a maximum PV input voltage of just 25V. That last number is the one that catches people: it cannot take panels wired in series, and it cannot take a 24V or residential panel, because their open-circuit voltage exceeds 25V. Within its lane, a single 100W or 200W 12V panel on a 12V battery, it does the job properly: four-stage charging, temperature compensation, lithium mode, and full protection against reverse polarity, overcharge, and short circuits. Status is shown by LEDs rather than a screen, and Bluetooth needs the optional BT-1 module. Buy this for a starter kit, a shed, or a first solar experiment. Skip it the moment your plans include a second panel in series, a 24V battery, or a 200W-plus array, where an MPPT unit earns its price back.
How to size a controller to your panels and battery
Sizing has two limits, and both must hold. Get either wrong and the controller either clips your output or, worse, fails.
Limit 1: charge current. Divide total panel watts by battery voltage. That is the current the controller must carry at full sun. Then add about 25 percent headroom, because panels briefly exceed their rated output in cold, bright conditions, and because a controller run at its limit all day runs hot and shortens its own life.
| Array | Battery | Current (watts ÷ volts) | Controller to buy |
|---|---|---|---|
| 100W | 12V | About 8A | 15A |
| 200W | 12V | About 17A | 20A |
| 400W | 12V | About 33A | 40A |
| 400W | 24V | About 17A | 20A |
| 600W | 24V | About 25A | 30A |
| 800W | 24V | About 33A | 40A |
Notice what doubling the battery voltage does: the same 400W array needs a 40A controller on 12V and only a 20A controller on 24V. That is one of the real reasons larger off-grid builds move to 24V, and it is why a controller’s amp rating alone tells you nothing without the battery voltage beside it.
Limit 2: maximum PV voltage. Add up the open-circuit voltage (Voc) of the panels in each series string, then check it against the controller’s maximum PV input voltage, with a cold-weather margin. A panel rated at 22V Voc at 25°C can reach about 24 to 25V on a freezing morning, because voltage rises as temperature falls. Two such panels in series reach about 48 to 50V cold, which fits a 100V controller easily but would destroy the Wanderer’s 25V limit instantly. Three in series reach about 72 to 75V, which fits a 100V controller but not the 75/15’s 75V ceiling. Never exceed the maximum PV voltage, even briefly: over-current is clipped, over-voltage is damage.
A note on wiring order. Connect the battery to the controller first, then the panels. The controller needs the battery connected to detect the system voltage and set itself up; connecting panels first can leave it unconfigured or, on some units, damaged. Disconnect in the reverse order: panels off first, then the battery.
What to check before you buy
- Battery chemistry setting. Confirm the controller has a preset for your exact battery: LiFePO4, AGM, gel, or flooded. A “user” profile is not the same as a lithium preset.
- Max PV voltage vs your cold-morning Voc. Size on the coldest morning, not the warm afternoon. This is the most common sizing mistake in DIY builds.
- Load output. If you want the controller to switch lights or a fan directly and cut them off before the battery is flat, you need a load output. The Victron 100/30 does not have one; the 75/15 and both Renogy units do.
- Display vs app. Decide whether you want numbers on the wall or on your phone. A controller with neither, like the Wanderer with its LEDs, leaves you guessing about system health.
- Temperature compensation. Lead-acid batteries need charge voltage adjusted for temperature. All five controllers here do it, either with a built-in sensor or an included remote sensor; check the box contents.
- Room to grow. A 40A controller on a 200W array looks oversized today and looks like foresight the day you add two more panels. Controller cost scales slowly with amps; replacing a controller scales badly.
The bottom line
For most DIY off-grid and RV builds, the Victron SmartSolar MPPT 100/30 is the best solar charge controller: the right amperage, the right voltage headroom, and the best app, for about $135. Go to the Renogy Rover Li 40A if your array is headed past 440W on 12V, to the EPEVER Tracer 4210AN if you want 40A at the lowest price and do not mind menu configuration, and to the Renogy Wanderer Li 30A only for a small single-panel setup where its 25V ceiling is never approached. Whichever you pick, size it on both limits, current and cold-morning voltage, and wire the battery first.
For the rest of the system, see the charge controllers hub for the full category, and the solar panels and batteries hubs when you size the array and the bank to match. If you are still deciding between the two technologies, our MPPT vs PWM comparison covers the trade-off in depth.